Creating a vinyl zipper bag with a clear vinyl pouch is a great way to add some extra functionality to your project. A clear vinyl pouch is a great way to add visibility to your bag, making it easier to see what's inside.
You can use a clear vinyl sheet, approximately 6-8 inches wide and 8-10 inches tall, to create the pouch. This size will give you enough room to store small items like makeup, jewelry, or electronics.
To attach the clear vinyl pouch to your vinyl zipper bag, you'll need to use a hot glue gun and apply a small amount of glue to the top edge of the pouch. Make sure the glue is dry before handling the pouch to avoid any accidents.
Materials
To make a vinyl zipper bag, you'll need some specific materials.
You'll need pretty cotton fabric, which is a great choice for this project.
A zipper is also essential, and it should be 3 inches longer than you want the bag to be wide.
Clear vinyl is another crucial material, and it's recommended to use a Teflon foot or roller foot for sewing with vinyl if you have one.
Here are the specific fabric and vinyl pieces you'll need to cut:
- Two pieces of fabric at 11 inches wide by 4.5 inches tall
- Two zipper tabs at 2 by 2.5 inches
- Two pieces of vinyl at 11 inches square
As for the vinyl, a 10 gauge seems to be a good choice, as it's flexible and durable.
Materials Needed:
To make a vinyl zipper pouch, you'll need the right materials. A piece of clear vinyl about 8’’ x 12’’ is a good starting point. You can use 14 gauge vinyl, which is flexible and durable.
For the zipper, you'll need one that's 14’’ or longer. If your regular zipper is too short, you can cut it to the required length and sew across the teeth to make a new stopper.
You'll also need a bias cut strip 40’’ long and 2 1/4’’ or 2 1/2’’ wide. And don't forget 6’’ of ribbon, 1/8’’ wide.
Here's a summary of the materials needed:
- Clear vinyl (8’’ x 12’’)
- Zipper (14’’ or longer)
- Bias cut strip (40’’ long, 2 1/4’’ or 2 1/2’’ wide)
- Ribbon (6’’ long, 1/8’’ wide)
For a clear bag, you can use pretty cotton fabric, a zipper 3 inches longer than you want the bag to be wide, and clear vinyl.
Bind Oval Clear Vinyl
To bind an oval clear vinyl, start by clipping one end of the bias strip to the side of the vinyl, with the raw edges of the strip against the cut edge of the vinyl.
You'll want to sew the binding about 3’’ past the end of the bias strip, and continue sewing all the way around the vinyl, stopping about 6’’ away from where you started sewing.
If your bias binding is 2 1/4’’ wide, use a scant 1/4’’ seam allowance, but if it's 2 1/2’’ wide, you can use a regular 1/4’’ seam allowance.
Bring the unsewn ends of binding together and fold them back in the center where they meet, then trim away each end to leave 1/4’’ past the fold.
Stitch the two ends of the binding together with a 1/4’’ seam allowance, then press or finger-press the seam open to help the binding lie flat.
Fold the binding away from the vinyl, taking a minute or two to work with the seam and help all of the binding lie flat away from the vinyl.
Finally, topstitch around the binding, 1/8’’ from the edge, to give it a clean finish.
Attach the Pouch
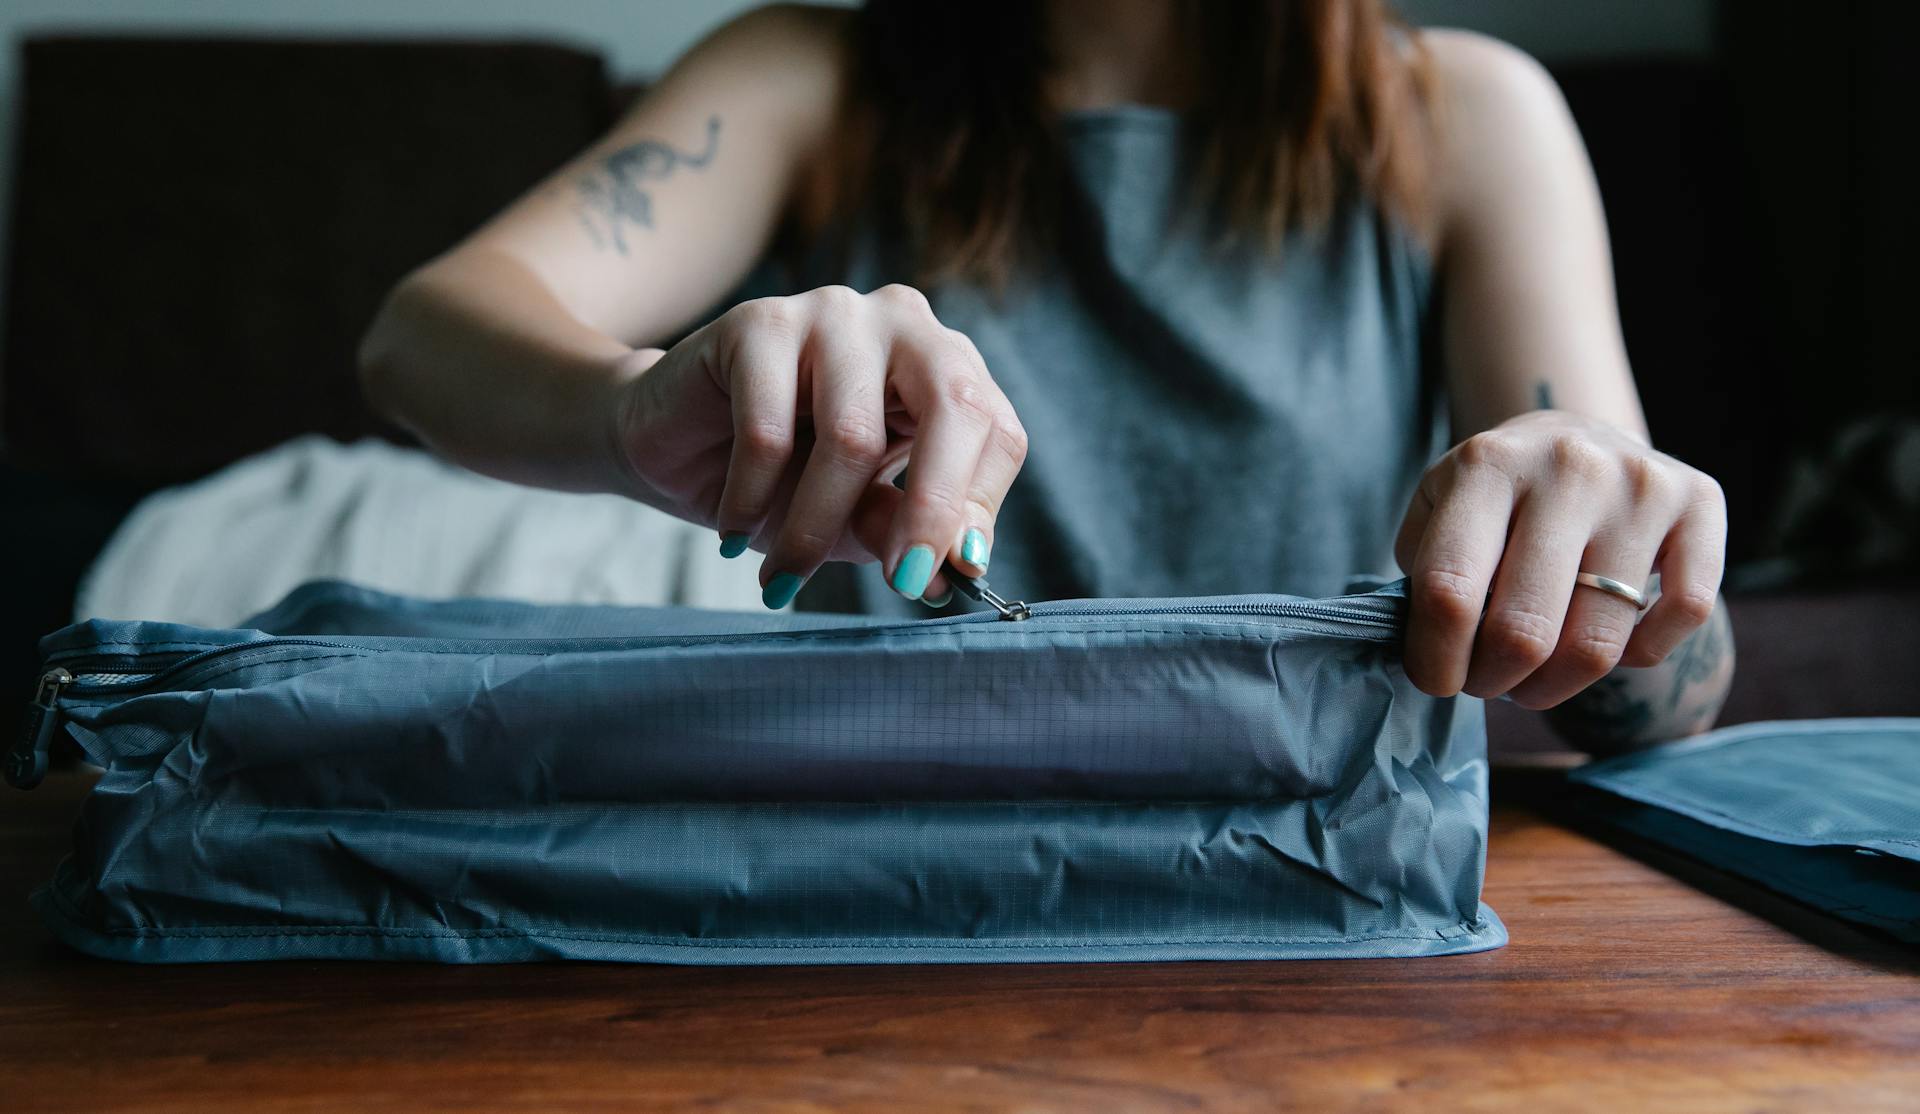
First, mark the center of the zipper on both tapes and open the zipper.
To attach the zipper, align the center mark on one side of the pouch with the mark on the zipper. Place the zipper tape behind the binding, with the top side against the back side of the binding.
Make sure the bottom edge of the zipper tape is lined up with the bottom edge of the binding, so it doesn't show through the vinyl. The zipper teeth may peek out over the top edge of the binding, but that's okay.

Secure the zipper at the center of the pouch with a couple of clips, then continue clipping it around the inside edge of the binding. The zipper should be long enough to reach from one end to the other with a little extra inside near the pointy corners.
Start sewing about 2’’ from one end, topstitching over the previous topstitching and catching the zipper tape underneath. Move the zipper slider out of the way as needed and sew right up to the vinyl at the bottom corner of the pouch.
Open the zipper all the way and clip the right side of the other zipper tape against the inside edge of the opposite side binding. Make sure the zipper is not twisted and the bottom edge of the zipper tape is lined up with the bottom edge of the binding.
Finally, attach the zipper by topstitching over the previous topstitching, starting about 2’’ from one end and sewing around the curve all the way to the vinyl. Backstitch neatly.
Easy Pouch

Making an Easy Pouch is a great way to start your vinyl zipper bag project. You'll need a few basic supplies, including fabric for the outside back, inside front, accent, and binding.
The outside back fabric should be a FQ (fat quarter), which is a standard unit of measurement in sewing. You'll need to cut a single piece measuring 12.5" x 14.5".
For the inside front fabric, you'll also need a FQ, cut to the same size as the outside back: 12.5" x 14.5".
Accents can add a nice touch to your pouch. You'll need a F8 (fat eighth) of accent fabric, cut into two pieces measuring 2.5" x 14.5" and one piece measuring 3.5" x 14.5".
Binding fabric is used to finish the edges of your pouch. You'll need to cut three strips of binding fabric, each measuring 2.5" x 21".
If you're planning to use your pouch for stitching or embroidery, you'll want to add some batting to give it some extra stability. Cut a single piece of batting to 12.5" x 14.5".
Frequently Asked Questions
Is vinyl good for bags?
Yes, vinyl is a popular choice for bags due to its water-resistant properties and ease of cleaning. It's available in a wide range of colors and finishes to suit various styles and needs.
What is considered a vinyl bag?
A vinyl bag is made from vinyl materials like PVC and EVA, which are types of plastic. Learn more about the composition and uses of vinyl bags.
Can you wash vinyl bags?
You can wash vinyl bags, but it's recommended to check the manufacturer's instructions first to ensure the best results. Washing vinyl bags can be a bit tricky, so it's a good idea to follow some specific tips to keep them looking their best.
Sources
- https://sewcanshe.com/sew-vinyl-zipper-pouches-with-a-cute-dumpling-shape-free-tutorial/
- https://www.actionbags.com/product-category/retail-bags/vinyl-bags/zipper-vinyl-bags/
- https://www.confessionsofahomeschooler.com/blog/2020/02/easy-vinyl-zipper-pouch.html
- https://www.everythingpromo.com/vinyl-zipper-bag
- https://so-sew-easy.com/clear-vinyl-zipper-bags/
Featured Images: pexels.com

