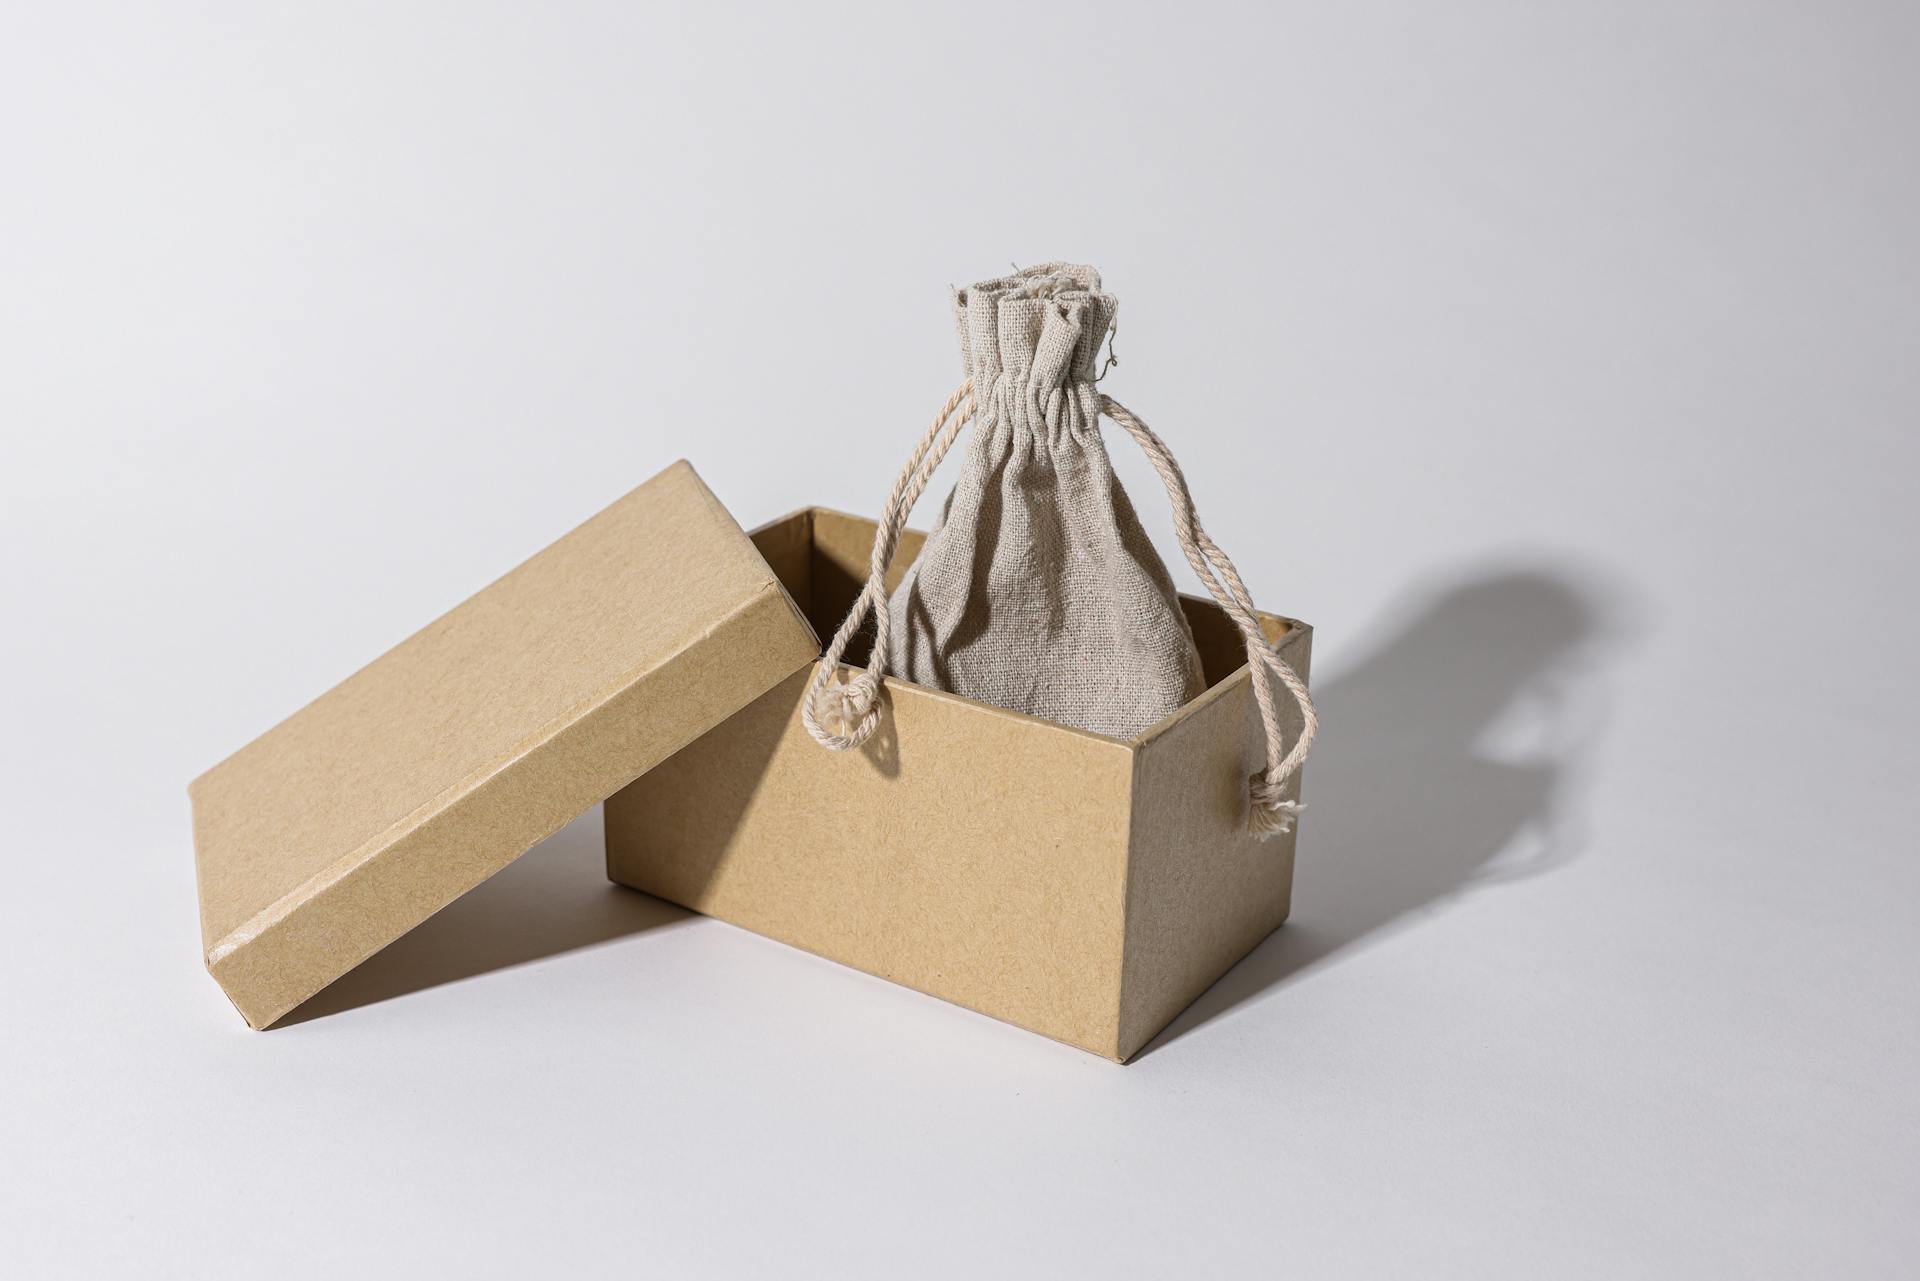
Let's get creative with our DIY Paper Bag Christmas Gift Bags! You can decorate plain paper bags to give your gifts a personal touch.
To start, you'll need paper lunch bags, scissors, glue, and some decorative materials like stickers, ribbons, and stamps.
These materials are affordable and easy to find. You can reuse old paper bags or purchase new ones in bulk.
With a few simple materials, you can create unique and eco-friendly gift bags that your loved ones will appreciate.
DIY Christmas Gift Bags
To make your own DIY Christmas gift bags, you'll need some basic supplies and a bit of creativity. You can use printed Christmas favor bag templates, which are best printed on cardstock, or get crafty with scrapbook paper and other materials.
To start, choose a paper lunch bag or a piece of wrapping paper, and trim off any uneven edges with deckle edge scissors. You can also use a paper punch to add some fun designs to the front of the bag.
For a more personalized touch, cut a piece of scrapbook paper to fit the inside flap of the bag, leaving about 1/2 inch sticking out. Rub the front of the paper with a glue stick and attach it to the inside flap.
To add some extra reinforcement to your gift bag, you can use a piece of cardstock to create a bottom flap. Simply trace around the bottom of the bag onto the cardstock, cut it out, and trim it to fit. Apply some glue and press it down to the bottom of the bag.
To finish off your gift bag, punch two holes in the top and string some baker's twine through them. You can also add a decorative bow or a gift tag to give it a more polished look.
Here's a quick rundown of the basic supplies you'll need:
- Printed Christmas favor bag template (best printed on cardstock)
- Scissors
- Glue
- Ruler
- Paper lunch bag
- Scrapbook paper
- Paper punch
- Deckle edge scissors (optional)
- Glue stick
- Hole punch
- Baker's twine
Remember, the best part about making your own DIY Christmas gift bags is that you can customize them to fit your personal style and the occasion. So don't be afraid to get creative and add your own special touches!
Wrapping and Tags
You can add a personal touch to your paper bag Christmas gift bags by making a cute handle. Punch two holes near the top of the bag and thread a ribbon through for a charming finish.
A decorative sticker or stamps can also add a polished look to your gift bags. Simply fold the top flap over and seal it with a sticker or stamps for a professional finish.
Finish & Detail
Add a decorative touch to your wrapped gifts by using a ribbon as a handle. This can be done by punching two holes near the top of the bag and threading the ribbon through.
You can also give your gift a polished look by folding the top flap over and sealing it with a decorative sticker or stamps.
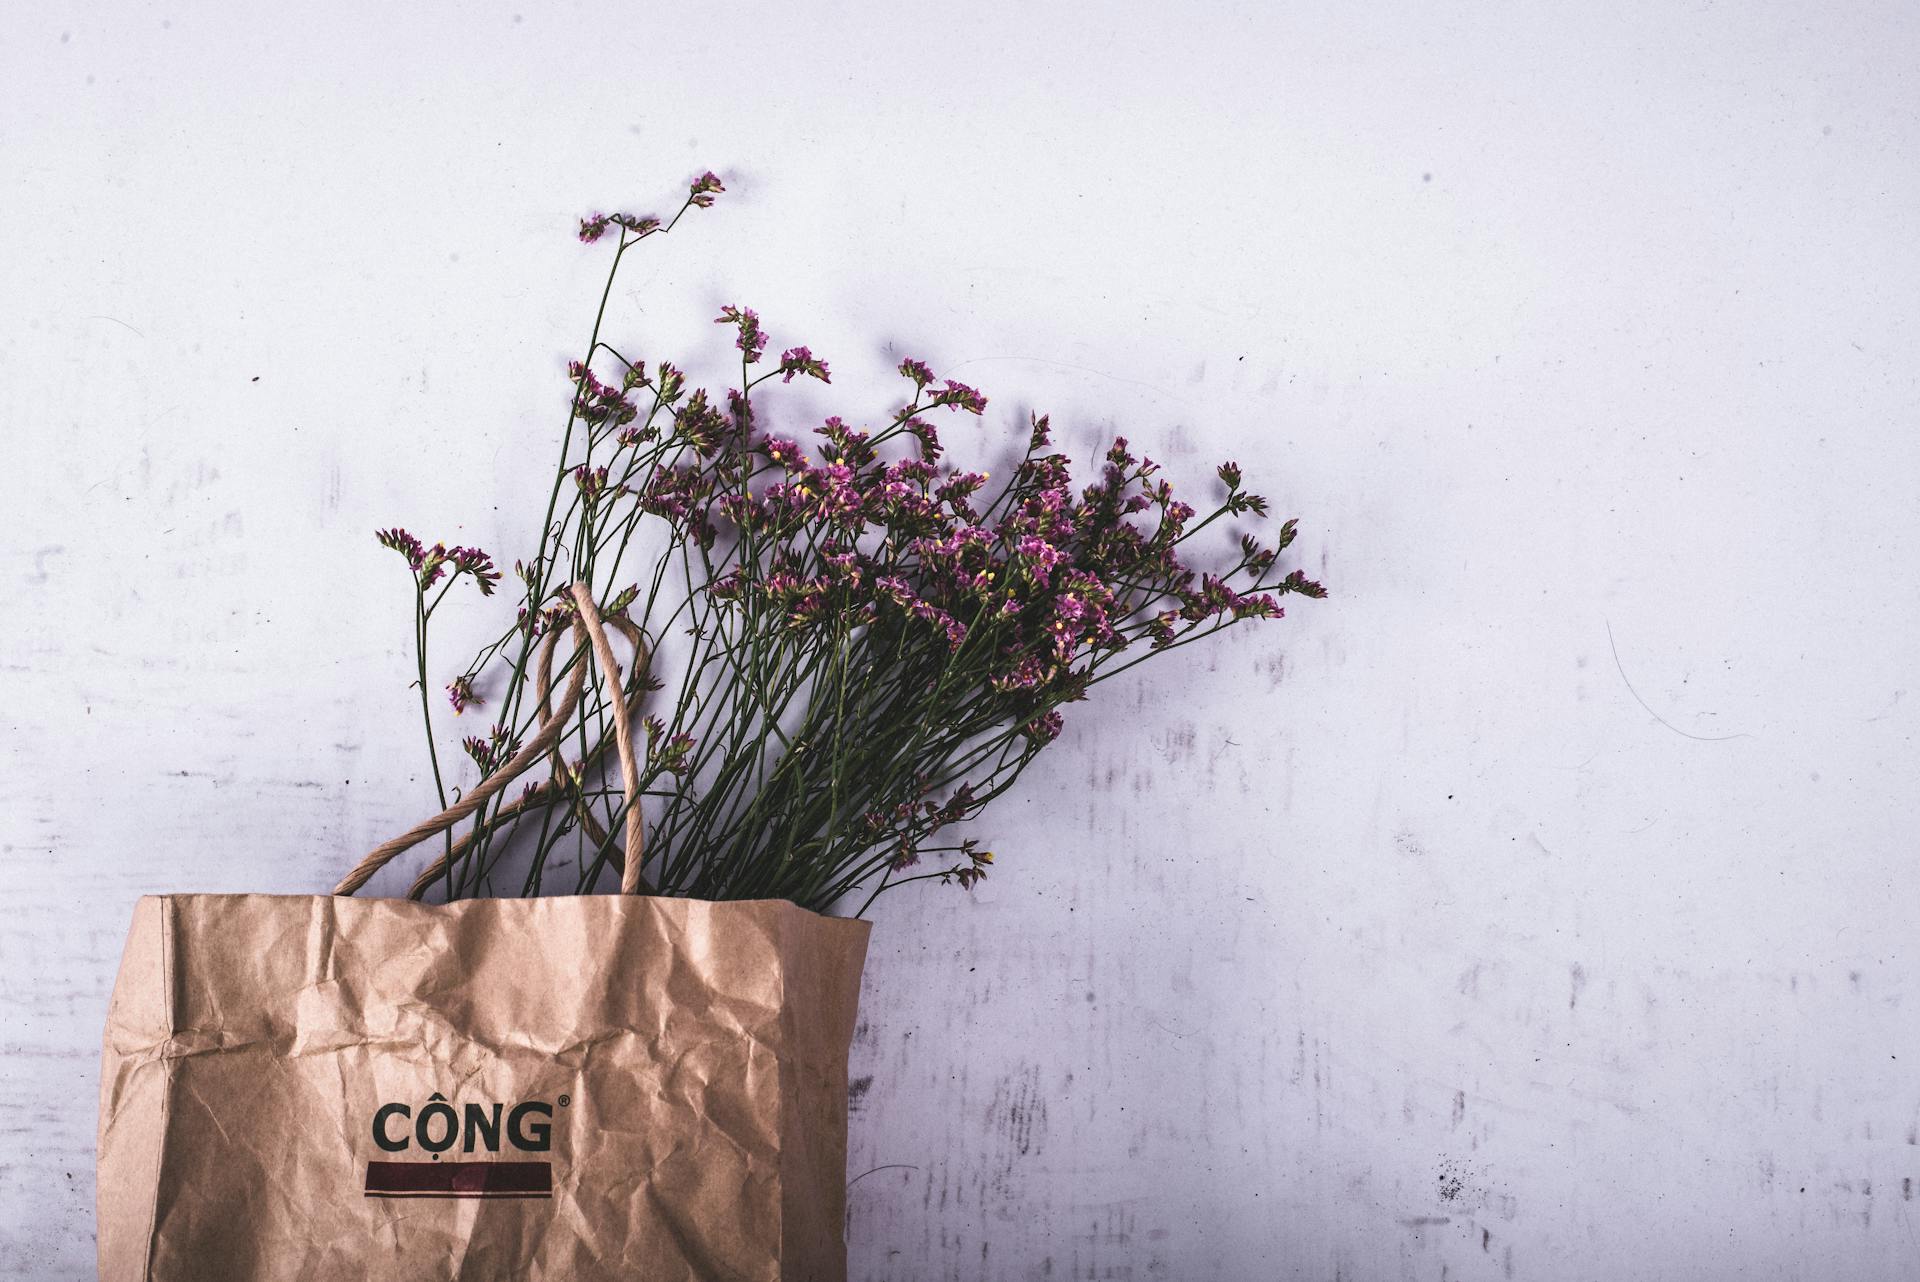
Wrapping Paper
Wrapping paper is a great way to add a personal touch to your gifts. You can make wrapping paper gift bags in your friend's or family's favorite colour or choose a wrapping paper pattern that reflects their hobbies or a special occasion.
Using leftover wrapping paper is a great way to get creative with your gift wrapping. You can even make wrapping paper gift bags in advance and keep them folded flat in a drawer for any last-minute gift-giving emergencies.
Wrapping paper gift bags are perfect for parties, special occasions, and everyday gifts. You can use them as party bags for a birthday party, to wrap a sweet gift for Mother's Day or Valentine's Day, or as an extra special touch for your holiday gifts.
To add a finishing touch, consider using an origami bow, paper flowers, or a cute gift tag. These little details can really take your DIY gift bag to the next level.
Here are some templates you can use to make your own wrapping paper gift bags:
- Mini Gift Bag Template
- DIY Pillow Box Template
- DIY Mini Paper Gift Bag
Remember, a cute gift tag can make all the difference in making your gift stand out. You can print and use free printable Christmas gift tag DIYs, like the ones mentioned in the article, to add a personal touch to your gifts.
Instructions and Ideas
To create a paper bag Christmas gift bag, you'll need to start by downloading and printing out the free template. This will give you a solid foundation to work with.
The template should be cut out carefully, paying attention to the broken lines that will become flaps. These flaps will help create the shape of the bag.
You'll also need to cut out the solid lines to create a crease. Using a ruler will help you achieve a perfect crease, which is essential for the bag's structure.
To assemble the bag, glue the flaps together, making sure to attach both sides securely. Next, fold down the flaps on the bottom part of the bag and glue them in place.
Here's a quick summary of the steps:
- Download and print the free template.
- Cut out the template, including the broken lines and solid lines.
- Glue the flaps together, attaching both sides.
- Fold down the flaps on the bottom part of the bag and glue them in place.
Finally, create a "v" shaped crease on each side of the paper bag and fill it in with goodies. Glue or tape to close, and you'll have a beautiful paper bag Christmas gift bag ready to use!
Forming the Bottom

To form the bottom of your bag, fold up the bottom edge of the paper about 2 inches to create the base. This will give your bag a sturdy foundation.
You'll see the bottom section of the wrapping paper expand as you push the sides out, creating a diamond shape. This is a crucial step in forming the base of your bag.
Crease the bottom points of the diamond, making sure they're sharp and defined. This will help you create a clean and even fold.
Next, fold the top and bottom flaps toward each other, meeting in the centre of the diamond. Securing them together with tape will keep the bottom of the bag strong and stable.
Instructions
To create a Christmas favor bag, start by downloading and printing out the free template. Cut out the template along the solid lines, and then cut out the broken lines to create flaps. Use a ruler to create a perfect crease on the solid lines.
Next, glue the flaps together to attach both sides of the bag. Fold down the flaps on the bottom part of the bag and glue them in place to secure. You can also create a "v" shaped crease on each side of the paper bag and fill it in with goodies.
To add some shape to the bag, fold each side inward, creating a crease from the top flap to the bottom. This will help the bag stand up like a regular paper bag.
Here's a step-by-step guide to creating your Christmas favor bag:
- Download and print the free template.
- Cut out the template along the solid lines.
- Cut out the broken lines to create flaps.
- Glue the flaps together to attach both sides of the bag.
- Fold down the flaps on the bottom part of the bag and glue them in place.
- Create a "v" shaped crease on each side of the paper bag and fill it in with goodies.
Remember to create all the Christmas character designs as well to complete your project.
Frequently Asked Questions
What kind of paper do you use to make gift bags?
Use lightweight papers like brown kraft, patterned scrapbooking, or wrapping paper for gift bags. Avoid cardstock due to its stiffness
Does Dollar Tree sell gift bags?
Yes, Dollar Tree offers a variety of affordable gift bags in different colors and prints. Check out our selection of gift bags and wrapping supplies for great deals.
Sources
- https://www.gatheringbeauty.com/blog//2014/12/diy-gift-bags.html
- https://thediymommy.com/how-to-make-a-gift-bag-from-wrapping-paper-simple-beautiful/
- https://partywithunicorns.com/diy-christmas-gift-bags/
- https://meandmyinklings.com/diy-painted-christmas-gift-bag-kid-craft/
- https://www.kellyelko.com/how-to-make-gift-bags-out-of-brown-paper-bags/
Featured Images: pexels.com