Wrapping a gift can seem daunting, but with a few simple steps, you'll be a pro in no time.
Start by gathering your supplies, including wrapping paper, a gift box, gift tag, scissors, tape, and ribbon.
Measure your gift to determine the right size of wrapping paper you'll need, ensuring it's at least 2-3 inches larger on all sides than the gift itself.
Choose a wrapping paper that complements the occasion and the gift's color.
A general rule of thumb is to use a 2-inch border on all sides when wrapping a rectangular gift, allowing for an even fold and a neat finish.
Preparing the Gift
A good gift wrap starts with a well-chosen gift. Think about the occasion and the recipient's interests to select something meaningful.
Choose a gift that fits your budget, as this will determine the quality of the wrapping materials you can afford.
Consider the recipient's style and preferences when selecting a gift, as this will help you choose a wrapping paper that complements the gift.
Wrap the gift as soon as possible to prevent it from getting damaged or dusty.
Gather all the necessary wrapping materials, including wrapping paper, scissors, tape, and a gift tag, before starting to wrap the gift.
Make sure the gift is clean and dry before wrapping it to prevent any stains or moisture from affecting the wrapping paper.
A simple and elegant gift box can be a great alternative to traditional wrapping paper, especially for special occasions.
Wrapping the Gift
To wrap a gift, place the box in the center of the wrapping paper, with the longer sides parallel to the edge of the paper. This ensures you have enough paper to cover the entire gift.
For simple-shaped gifts, follow these steps: place the box in the center of the wrapping paper, pull one side of the paper up and over the box, do the same with the other side, and make sure the paper extends about halfway up the sides of the box.
To wrap a round present, lay the gift on its side, rolling it towards the center to make sure the paper will cover all the way around. Pull one side of the paper up and over the present, then pull the other side over, leaving about an inch of extra paper to cover the edge where the two sides meet.
Here are some tips to keep in mind:
- Use pre-cut pieces of tape to make wrapping smoother.
- Leave about an inch of overlap when wrapping the gift.
- Make sure the paper extends about halfway up the sides of the box.
Measure and Cut
Measuring and cutting the gift wrap is the foundation of a beautifully wrapped present. To avoid awkward gaps and uneven folds, grab your wrapping paper and unroll enough to comfortably cover the entire gift.
Place the box or present in the center of the wrapping paper, with the longer sides parallel to the edge of the paper. This ensures a smooth and even wrap. For simple-shaped gifts, you can follow these steps: place the box in the center of the paper, pull one side up and over the box, and do the same with the other side, ensuring an overlap of about an inch.
For round presents, lay the gift on its side and roll it towards the center to make sure the paper will cover all the way around. This makes it easier to wrap the entire present without any gaps.
To cut the gift wrap, fold the paper across the box, making sure it will cover all four sides, and add an additional 1-2 inches. If your paper has a grid printed on the underside, this makes cutting straight lines a breeze! If not, you can make a small snip where you want to cut, fold over the extra paper, and align the bottom edges to create a straight fold.
Here are some key measurements to keep in mind:
By following these simple steps and measurements, you'll be well on your way to creating beautifully wrapped gifts that impress.
Cut Paper
Cutting the wrapping paper is an essential step in gift wrapping. You'll want to use good quality scissors specifically for cutting paper to avoid tearing the paper and leaving uneven edges.
Invest in sharp, quality scissors that will give you clean, straight cuts. Precision is key for a polished finish.
To cut the wrapping paper, place the box facedown on top of your gift wrap, leaving the paper attached to roll. Cut the paper along one side, making a wide enough sheet to cover both sides of the box.
You can also use wrapping paper with grid lines on the back, which makes cutting straight lines a breeze and spares you the frustration of uneven edges.
To measure and cut the wrapping paper, place your box in the center of the paper, with the longer sides parallel to the edge of the paper. Pull one side of the paper up and over the box, ensuring both sides meet with about an inch of overlap.
Here's a quick checklist to keep in mind when cutting your wrapping paper:
- Use good quality scissors specifically for cutting paper
- Place the box facedown on top of your gift wrap
- Cut the paper along one side, making a wide enough sheet to cover both sides of the box
- Use wrapping paper with grid lines on the back for easy cutting
- Ensure both sides of the paper meet with about an inch of overlap
Wrapping
Wrapping is an art that requires some basic essentials to get it right. Invest in good quality wrapping paper that's thick enough to hide the gift underneath but flexible enough to fold smoothly.
A good pair of scissors is crucial for clean, straight cuts. Dull blades can tear the wrapping paper, leaving you with uneven edges and a frustrating mess. Precision is key for a polished finish.
Tape is your best friend when it comes to wrapping. Opt for clear adhesive tape that's easy to tear off or cut and isn't too visible on the gift. Double-sided tape can create a seamless, professional finish, but be sure to fold under all the edges before taping.
To achieve perfect lines every time, get wrapping paper with grid lines on the back. It makes cutting straight lines a breeze and spares you the frustration of uneven edges.
Here are the wrapping essentials you should always have on hand:
- Wrapping paper (glossy, matte, or patterned)
- Sharp, quality scissors specifically for cutting paper
- Clear adhesive tape
- Double-sided tape (optional)
- Gift tag or marker
For cylindrical shapes, use thick wrapping paper to avoid tearing. To wrap a cylinder, place the gift in the center of the paper and secure the long edges with tape. Fold the bottom edge up, making sure it's wide enough to hold the gift.
Edges
Edges are a crucial part of gift wrapping, and taking the time to tidy them up can make a big difference in the overall appearance of your present.
You can fold the edges of your wrapping paper to create a clean edge, as mentioned in Step 2 of Example 1. This simple step can help create a polished look and make your gift stand out.
Trimming the edges is also an effective way to create a clean finish. You can cut the ends straight, at an angle, or even notch them into little "v" shapes for a decorative touch, as shown in Step 10 of Example 2.
Securing the edges with tape is essential to keep everything in place. You can use tape to hold down the paper and create a straight vertical edge, as described in Step Two of Example 3.
To ensure you have enough paper to fold and create crisp edges, make sure it extends about halfway up the sides of the box, as mentioned in Step 1 of Example 4.
Here are some general tips for creating clean edges:
- Fold the edges of your wrapping paper to create a clean edge.
- Trim the edges to create a polished look.
- Secure the edges with tape to keep everything in place.
- Make sure the paper extends about halfway up the sides of the box to create crisp edges.
By following these simple steps, you can create a beautifully wrapped gift with clean, polished edges that will impress your friends and family.
Securing the Gift
To keep your gift bag or box in place, you'll want to secure the edges with tape. Fold over the long edges, overlapping and securing the seam together with tape, just like in Step Two of Example 2.
Securing the edges is a crucial step to prevent your gift from unfolding. You can also use tape to secure the flaps on your gift bag, as shown in Step 2 of Example 1.
To add a finishing touch, fold in the top corners of your bag inward, just like in Step Five of Example 3. Then, tape the gift bag closed and add a bow.
Join Ends
To keep your gift looking clean and polished, it's essential to secure the ends properly.
You can hide the taped seam at the bottom by flipping the gift upside down. This will keep the seam out of sight.
To secure the ends, you'll need to tape them in place. If you're wrapping a box, pull the long sides of the paper over the box and tape it at the bottom. This will ensure the tape doesn't show on top.
Here are some steps to follow:
- Wrap the paper around the curved side of the cylinder, making sure the ends of the paper overlap slightly.
- Leave the flat ends of the gift open for now.
- Tape the seam in place along the side of the cylinder for a snug fit.
You can also try gently creasing the paper as you wrap it around the round object. This will help the paper fit the shape more snugly.
Secure
Securing the gift is a crucial step in making it look presentable and professional. To keep your gift looking clean and polished, flip it upside down so the taped seam is hidden at the bottom.
You can use various types of tape for securing your gift, but it's best to use as little tape as possible. Gift Wrap Tape and Double-Sided Tape are two popular options that are less visible on your package.
Here are some tips for using tape effectively:
- Use Gift Wrap Tape or Double-Sided Tape for a seamless look.
- Avoid using regular tape, as it can leave a white film or bubbles on your package.
- Use as little tape as possible to keep your gift looking neat.
To secure the edges of your gift, fold and neatly place a piece of tape over the seam to keep it in place. You can also use double-sided tape to hide the tape underneath your wrapping paper.
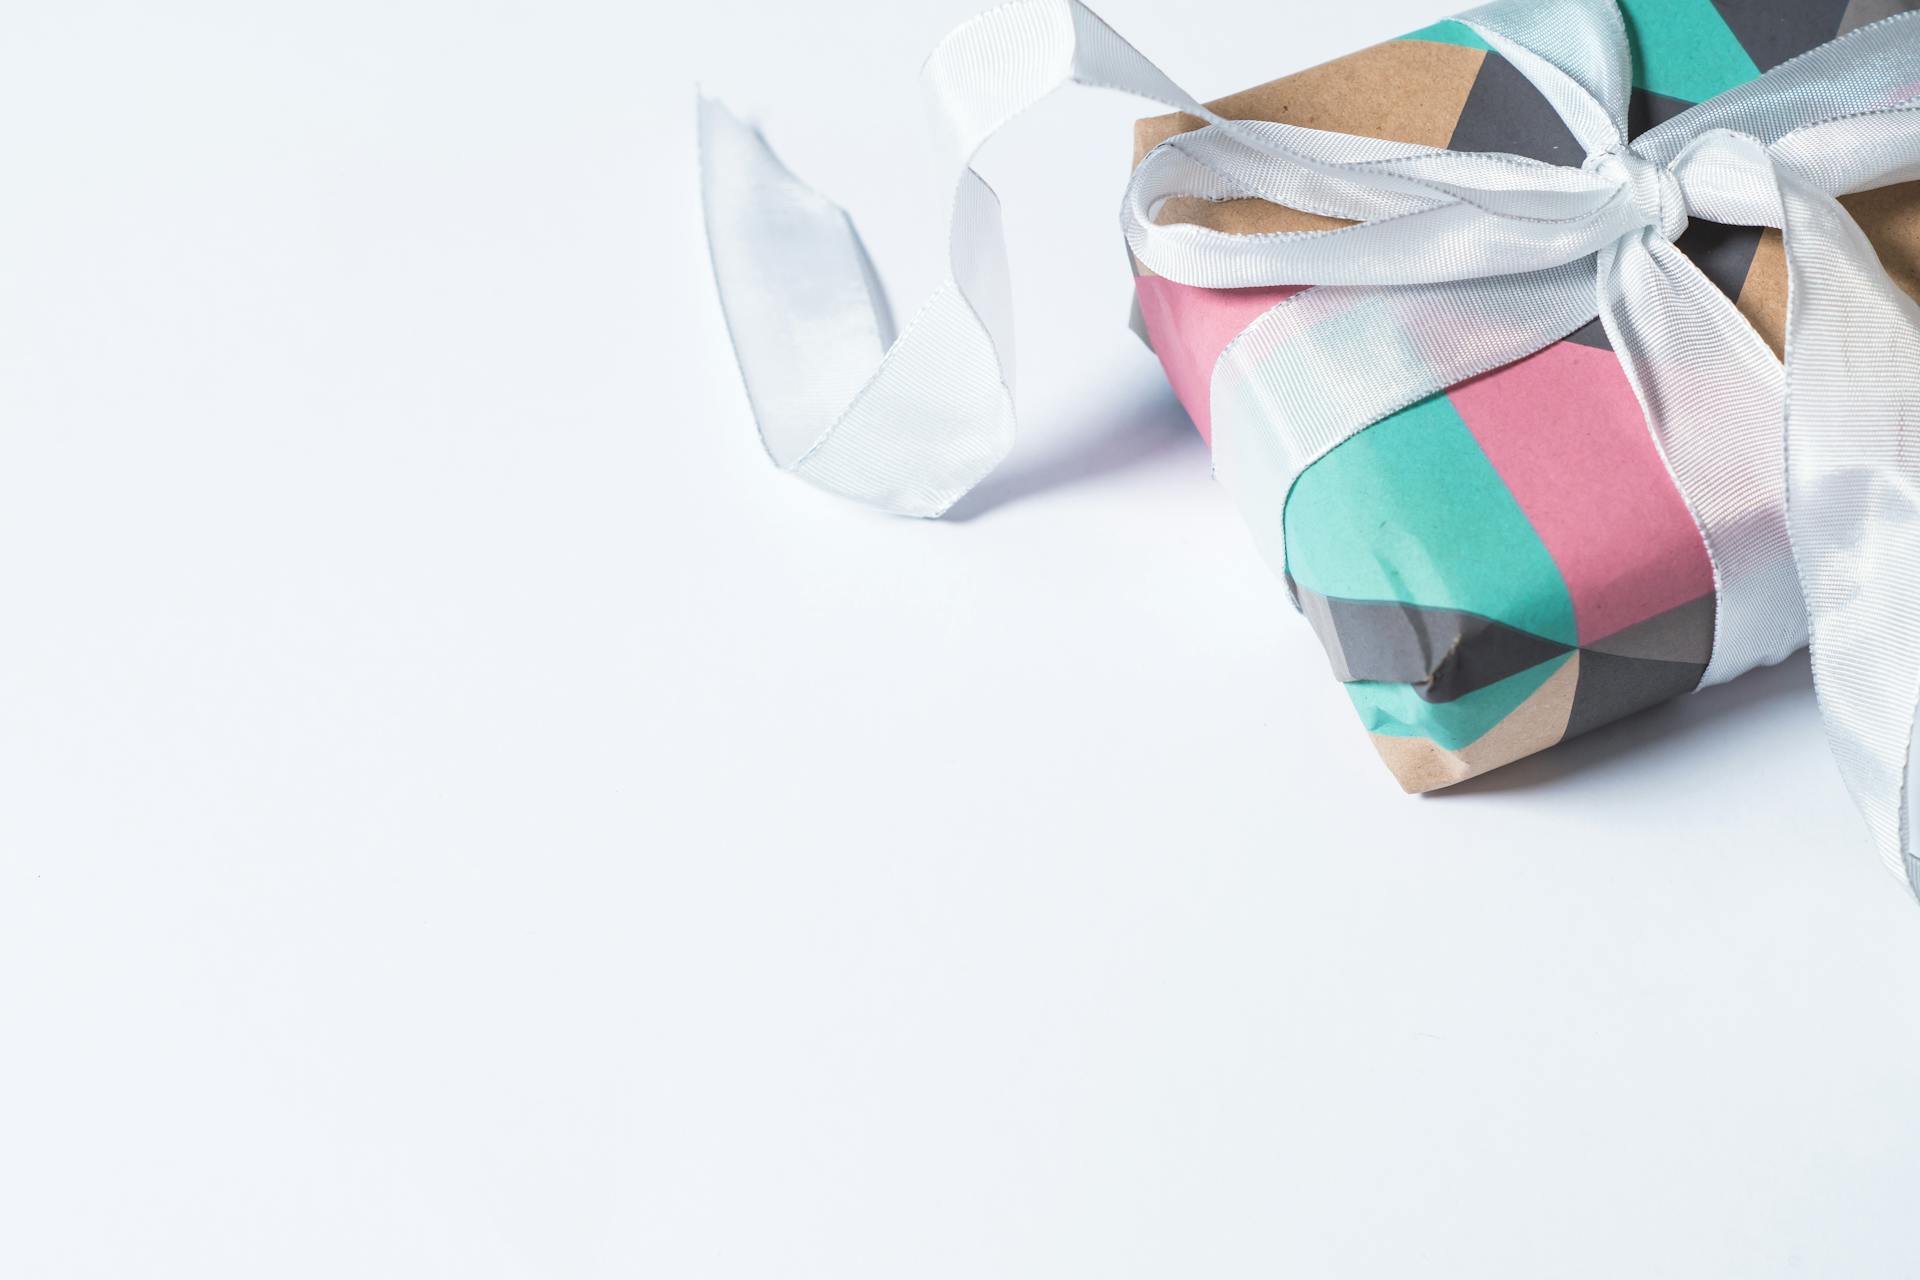
To tie a bow on your gift, double knot the ends of the ribbon to secure everything tightly. Then, create loops with the ribbon ends and tie them into a bow.
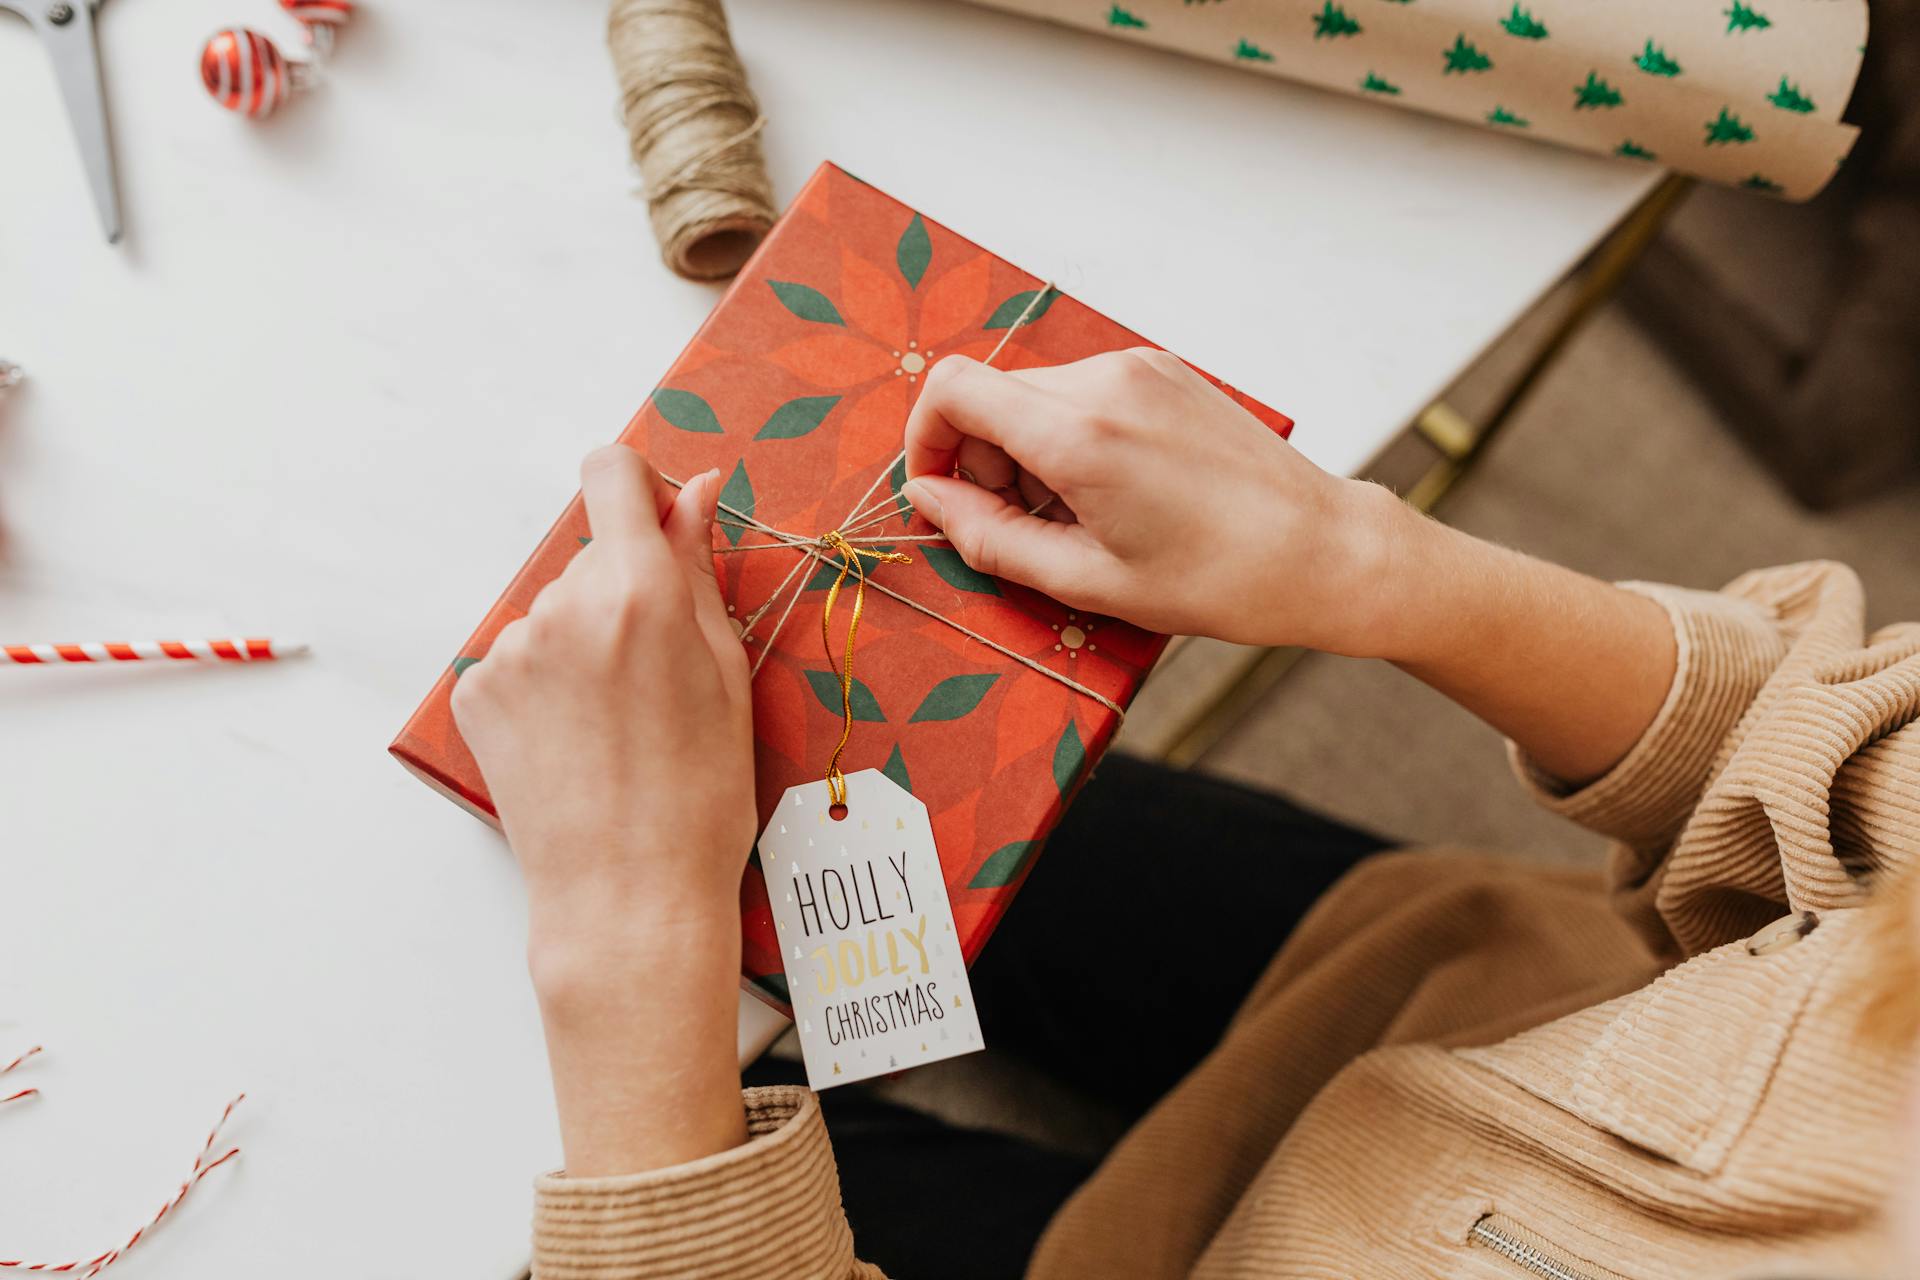
Adding Finishing Touches
Now that you've wrapped your gift with a beautiful ribbon using the Tiffany Bow method, it's time to add some finishing touches. A well-placed gift tag can make all the difference in giving your present a personal touch.
To add a gift tag, simply tie a basic bow using both halves of your ribbon, as described in the Tiffany Bow method. This will give you a clean and polished look.
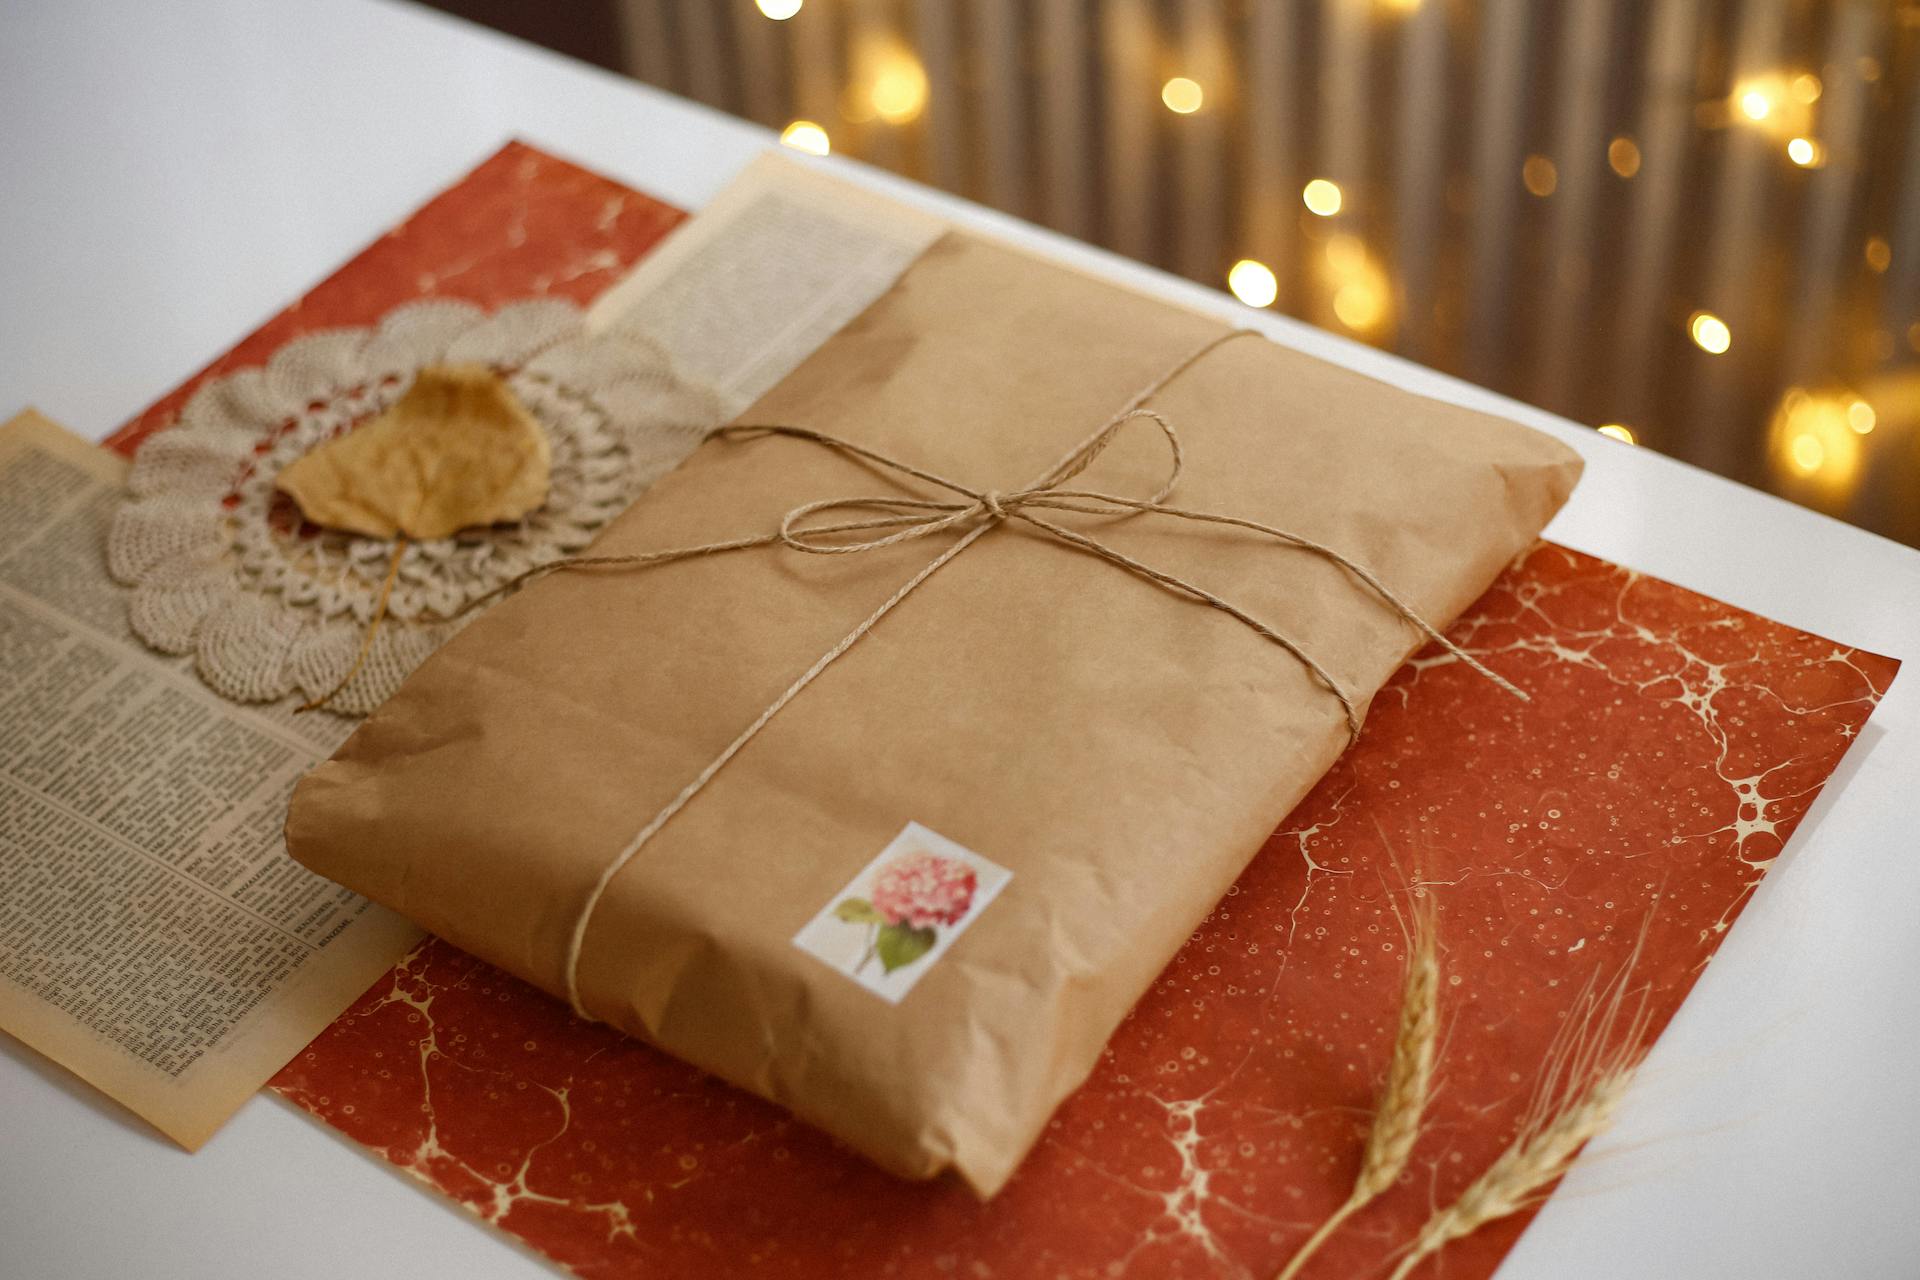
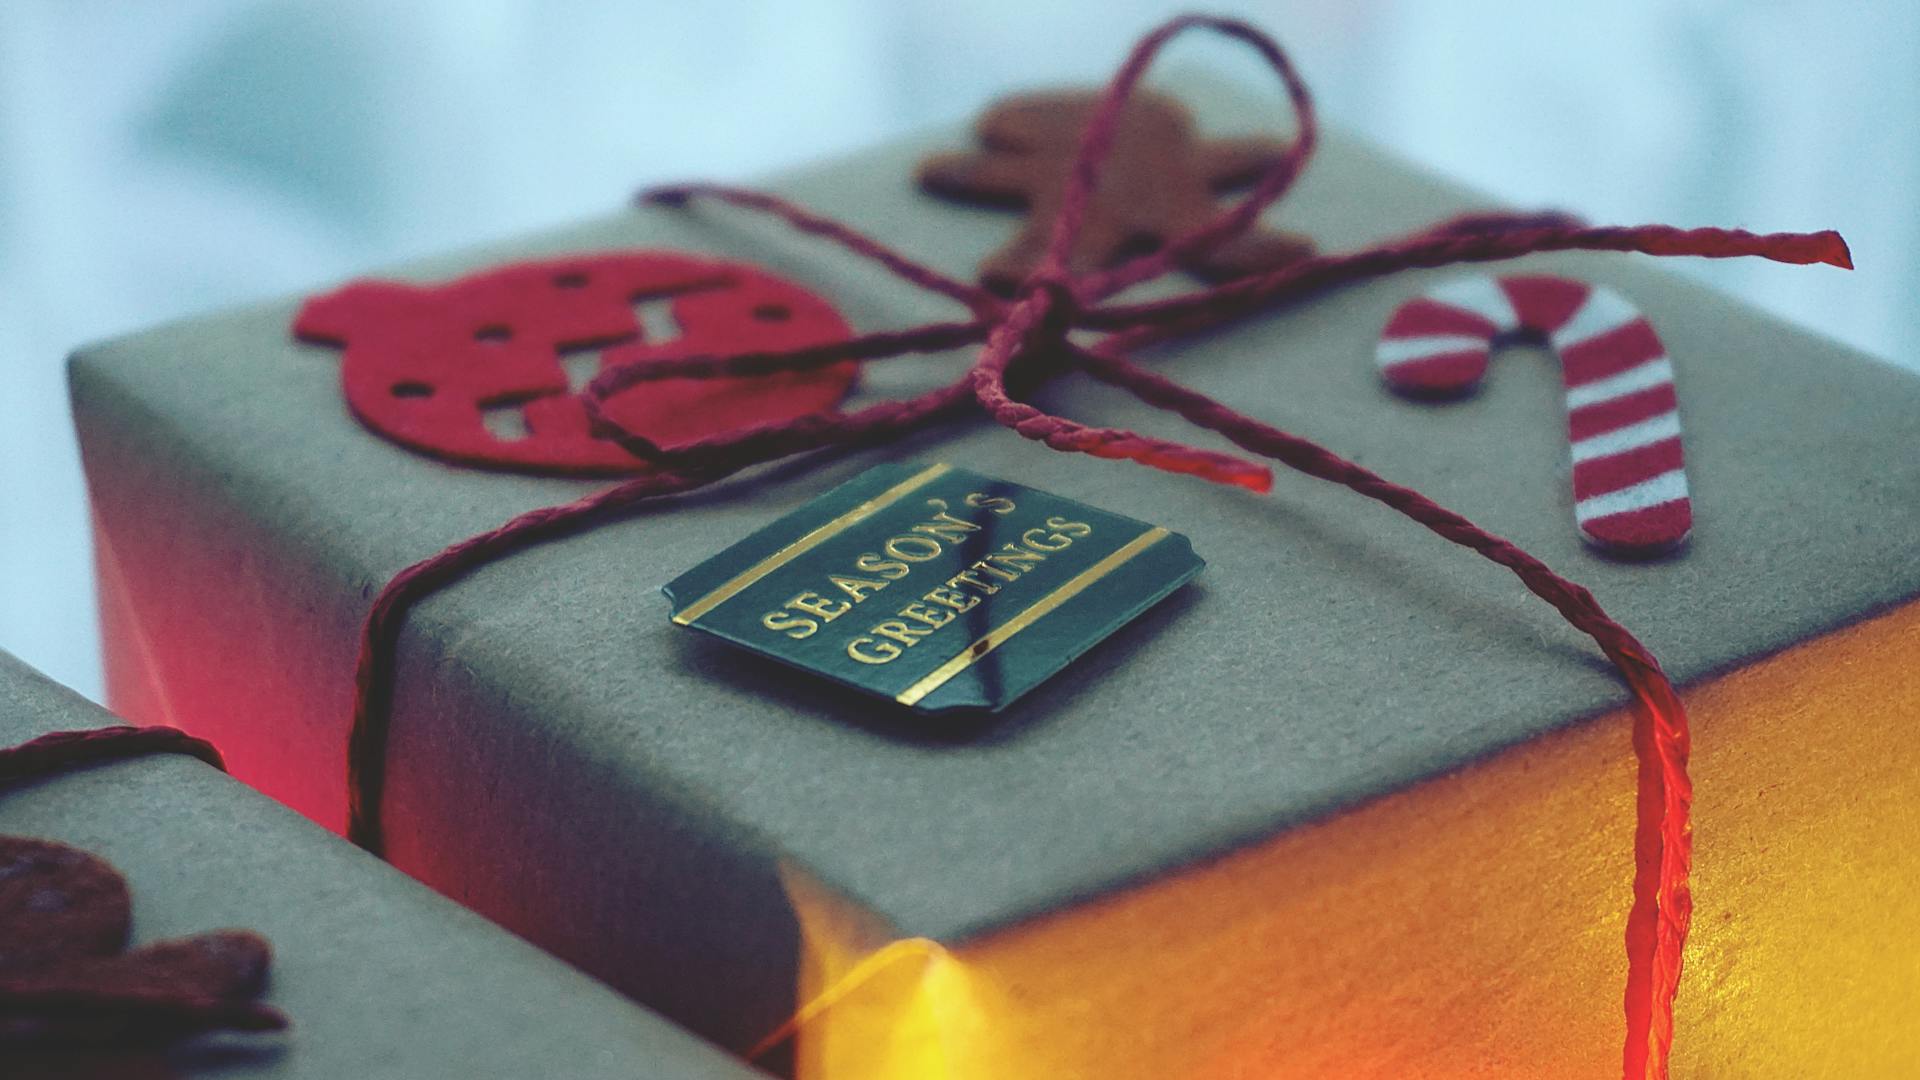
For a more elegant look, consider adding a few decorations to your gift. You can add gift tags or other embellishments to give your present a unique and personalized feel.
If you're short on time, a simple gift tag with the recipient's name is a great way to go. This will add a thoughtful touch to your gift without taking up too much of your time.
Here are some ideas for gift tags and decorations you can use to add the finishing touches to your gift:
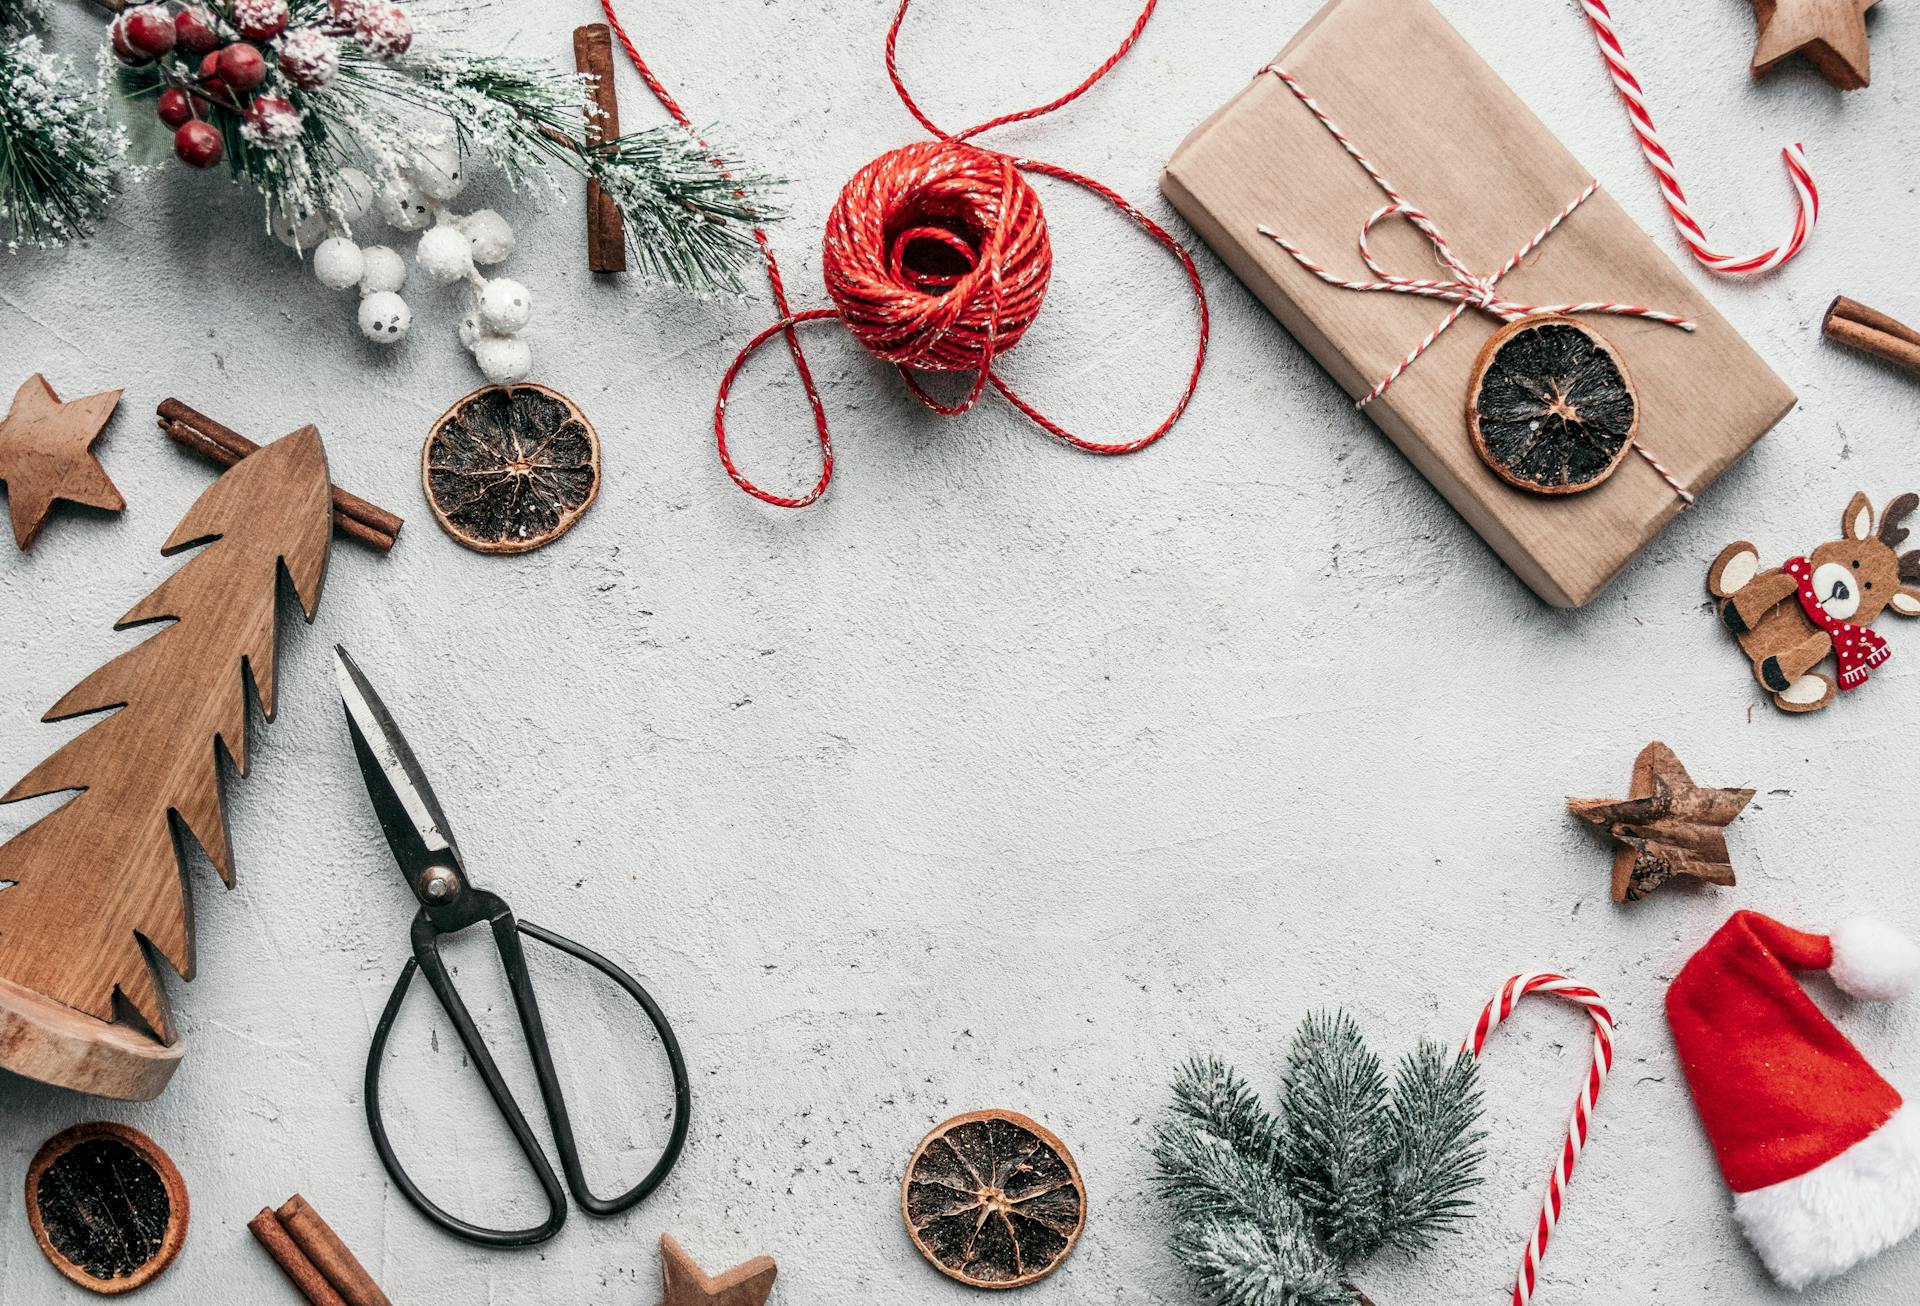
Optional Extras to Boost Your
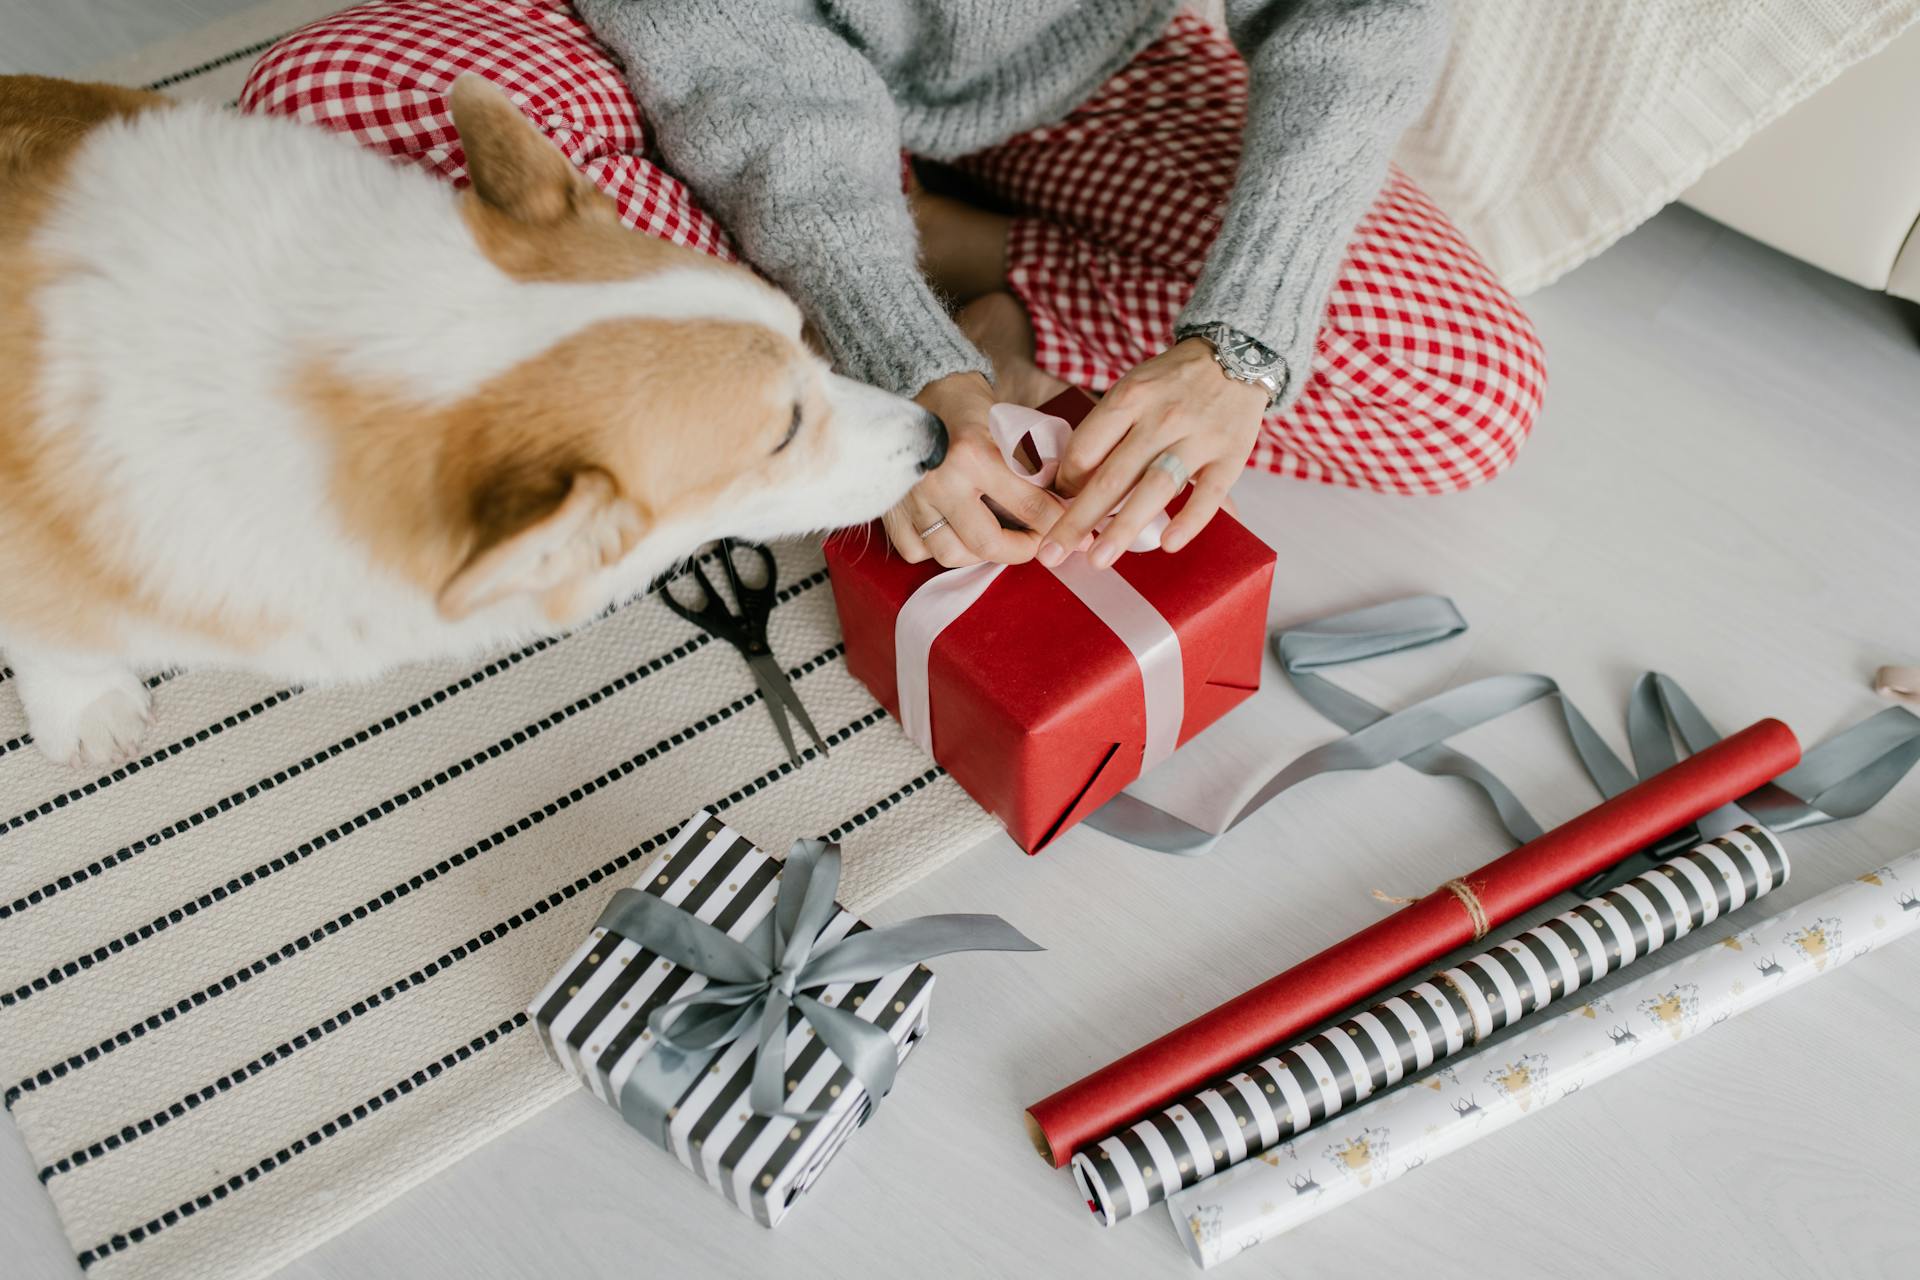
Ribbon is a timeless classic for adding elegance to your gift wrapping.
Satin ribbons offer a smooth, shiny finish, while grosgrain provides a more textured, sturdy feel.
A bow can make a statement, especially for large gifts. You can buy a premade bow or craft your own from ribbon.
For smaller presents, mini bows or handmade fabric bows add a charming, personal touch.
Tissue paper is ideal for gift bags or as an extra layer beneath the wrapping paper for delicate items.
Choose a color that complements your wrapping theme, or mix and match for a playful vibe.
A sturdy gift box can be your best friend when you've got an awkwardly shaped item.
Washi tape can upgrade your standard clear tape with fun colors or patterns, holding your gift together while adding a decorative element.
Stickers or wax seals are great for securing wrapping paper or adding a decorative finishing touch to gift tags and envelopes.
Here are some popular optional extras to consider:
- Ribbon
- Bow
- Tissue paper
- Gift box
- Washi tape
- Stickers or seals
Wrapping Unique Shapes
Wrapping Unique Shapes can be a challenge, but don't worry, I've got some creative solutions for you! You can place large, oddly-shaped gifts in a decorative pillow case and tie off the top with a ribbon, making the pillowcase part of the gift.
If you don't have a pillow case, you can wrap the gift using an oversized square scarf and tie it off with a ribbon. The scarf becomes part of the gift, adding a personal touch to the present.
Alternatively, you can swathe the entire gift in layers of crepe paper streamers for a unique gift-opening experience. This method adds a playful and whimsical touch to the gift.
Oddly Shaped
Wrapping oddly shaped gifts can be a challenge, but there are creative solutions to make it easier.
One idea is to place a large, oddly-shaped gift in a decorative pillowcase and tie off the top with a ribbon. The pillowcase becomes part of the gift!
You can also wrap the gift using an oversized square scarf and tie it off with a ribbon. The scarf becomes part of the gift!
Swathing the entire gift in layers of crepe paper streamers is another unique option.
Presenting the gift inside of a stocking instead of wrapping it is a great alternative.
If you want to add an extra touch, you can wrap a cylinder around the gift and then tie off the ends with ribbon like it's a piece of candy.
Alternatively, you can fold your wrapping paper into a gift bag and reinforce the bottom with scrap cardboard.
How to Create a Cylinder
To create a cylinder for wrapping, start by placing the object in the center of your wrapping paper. This is a crucial step, as it ensures the paper is evenly balanced around the gift.
Thick wrapping paper is essential for this shape of present, as regular paper will likely tear under the weight of the gift. I've learned this the hard way, trying to wrap a candle with flimsy paper.
Place the cylinder in the center of your paper and secure the long edges in place with tape. This is the foundation of a well-wrapped cylinder.
Fold the bottom edge of the wrapping paper up, making sure it's wide enough to hold your gift. This will create a smooth, even base for the rest of the wrapping process.
Create a Paper Bag
If you have an unusually shaped gift, you can easily turn some wrapping paper into a gift bag. This is a great alternative to boxes or bags when you're in a pinch.
You can use this method if you've run out of boxes or bags, which is exactly what happened to me last holiday season. I was wrapping a vase for a friend and didn't have a suitable bag, so I had to get creative.

To create a paper bag, you'll need some wrapping paper and a few simple supplies. The wrapping paper should be sturdy enough to hold its shape, just like the wrapping paper used in Example 1.
Cut out a square or rectangle from the wrapping paper, depending on the shape of your gift. This will be the base of your paper bag.
Fold the edges of the paper over twice to create a sturdy seam, just like you would when folding a piece of paper in half. This will help keep your gift secure inside the bag.
Finishing the Gift
You've made it to the final stretch! Now it's time to add the finishing touches to your beautifully wrapped gift.
To add a ribbon, you'll need to wrap the length of the ribbon around the gift, which is Step 7. This will give your gift a lovely finishing touch.
Next, thread the ribbon through the loop you created in Step 8. This is an important step, as it will help you tie the ribbon into a beautiful bow.
Double knot the ribbon in Step 9 to secure it in place. This will ensure that your bow stays tied and doesn't come undone.
Finally, trim the edges of the ribbon in Step 10 to give your gift a clean and polished look.
Frequently Asked Questions
How to fold corners when wrapping a gift?
To create a crisp corner fold, crease the edge, then tuck the seam under and secure with double-sided tape. This technique helps create a smooth, professional-looking finish on your gift wrap.
Do you wrap presents face up or down?
To wrap a present perfectly, place the gift face down on the paper with the bottom of the gift facing up. This ensures a beautiful presentation from the top.
What is the proper way to wrap?
To wrap properly, fold the wrap over and tuck in the sides as you roll it up. This simple technique ensures a neat and secure wrap every time.
How can I improve my gift wrapping?
Reduce waste and add visual interest to your gifts by layering leftover strips of wrapping paper, creating a unique and eco-friendly design
Sources
- https://www.countryliving.com/diy-crafts/how-to/g900/how-to-wrap-a-gift/
- https://www.vistaprint.com/hub/how-to-wrap-a-present
- https://christmasworld.com/blogs/all/how-to-wrap-a-gift-step-by-step-guide
- https://sweetredpoppy.com/how-to-wrap-a-gift-four-ways/
- https://www.realsimple.com/holidays-entertaining/gifts/wrap-present
Featured Images: pexels.com